


 POLYMER CELL

.jpeg)
24v 52A battery
Mar 04 - 2022
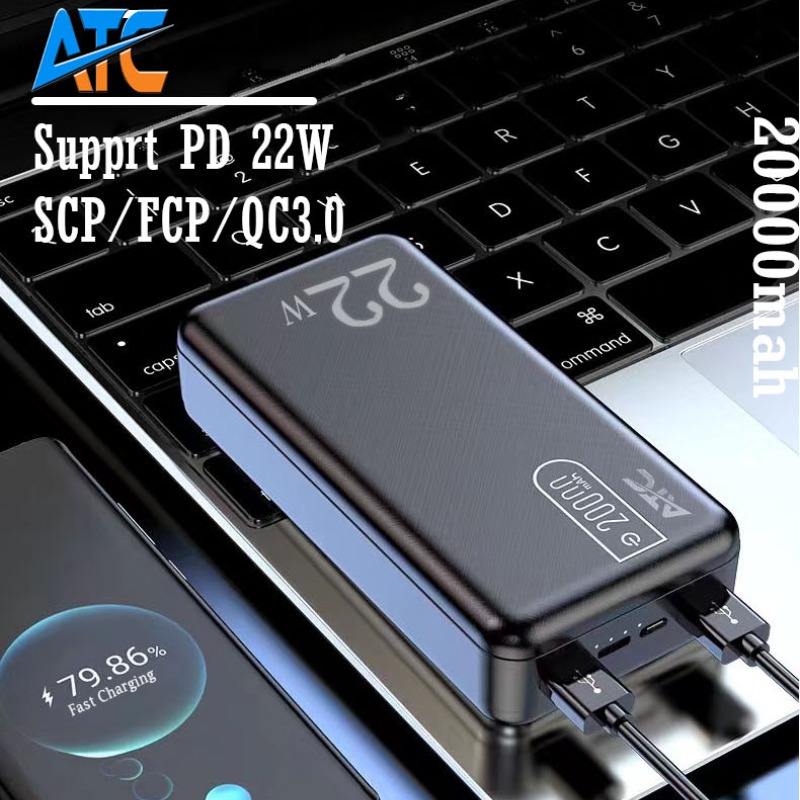
Power banks have become widely popular because of the use of battery-powered electronics like our smartphones. Some batteries just aren’t powerful enough to go all day without needing a recharge, so power banks are often a necessity! The real question is: How are these portable chargers even made?
We’ve got the power to show you exactly how the mighty power bank was made, along with some helpful tips and tricks to keep yours in perfect working order. This small mobile accessory packs a large punch!
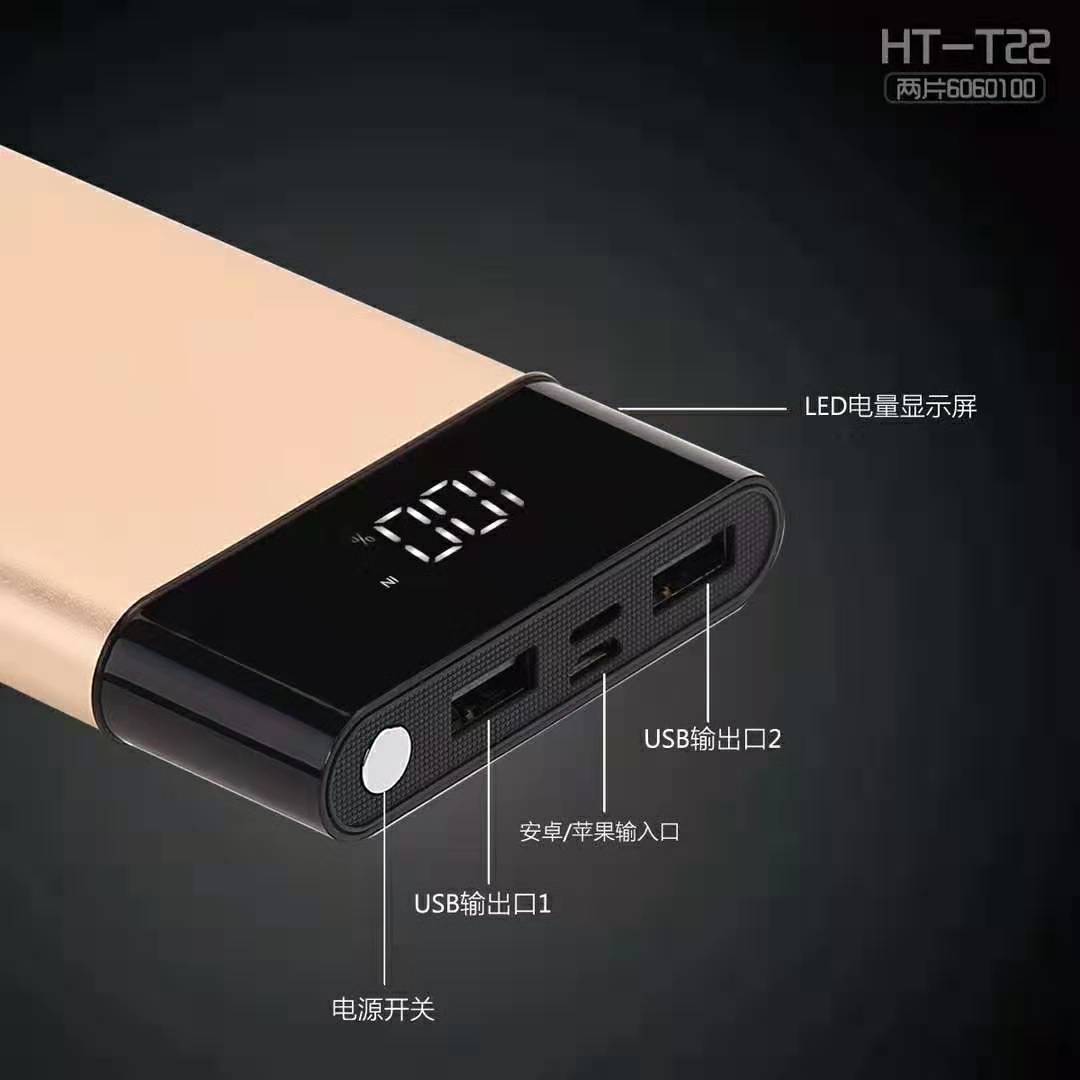
A power bank is a wireless battery that can receive and produce charge. For a power bank to work, it must be charged to store energy. First, an adapter cable provided with the power bank is used to charge it with a wall outlet. Once the indicator light on the power bank shows the accessory is charged, it can be used to charge electronic devices.
The energy stored inside of a power bank is then transferred through a charging cable from the USB port to the device.
If you’ve ever wondered what’s inside your power bank, we have the answers. A power bank is made through 10 simple steps!
Here’s how a power bank is made:
Mar 04 - 2022

Nov 08 - 2021
Sep 01 - 2021